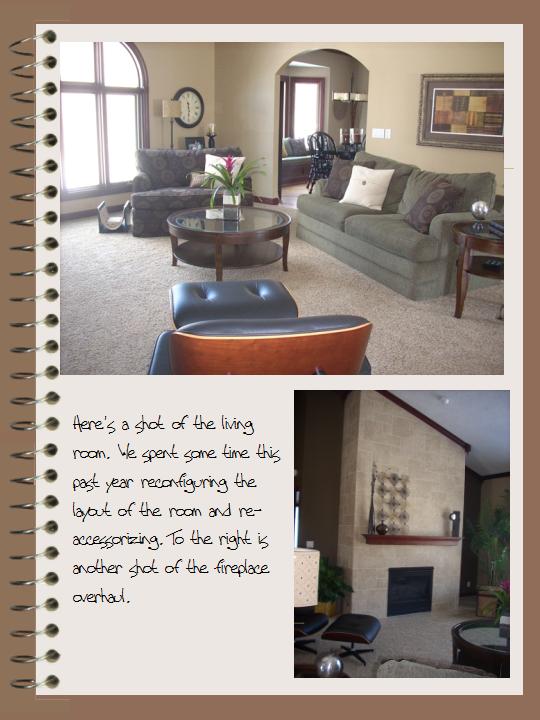
My friend Randy made the comment the other day, how much damage his "kitchen counter hobby" has done to the interior of his house. I laughed and agreed wholeheartedly! This is the tiny little kitchen island in our 100 year old bungalow where most of my work is done. It's a good thing that granite is nearly indestructable because I for sure have tested that theory many times over. My corian kitchen sink is stained from paintbrush rinsing, my doorjams are beat to shreds from hauling furniture in and my countertops are scratched from sanding, cutting, painting signs etc. However, I wouldn't trade it for anything. Today I spent the entire day working on big and little projects in my garage and on my kitchen counters.

This particular project is for Lynda's master bedroom addition that I posted several updates ago. I had seen a picture online of four fabric panals that were placed uniformly over a couch with fun, retro, black white prints. In addition to the newly constructed master suite, Lynda's family is repurposing their old upstairs bedroom into a kid's hangout space/bonus room. These panals will go there above a black couch and a funky zebra print rug. Photos later after we pull the room completely together.....
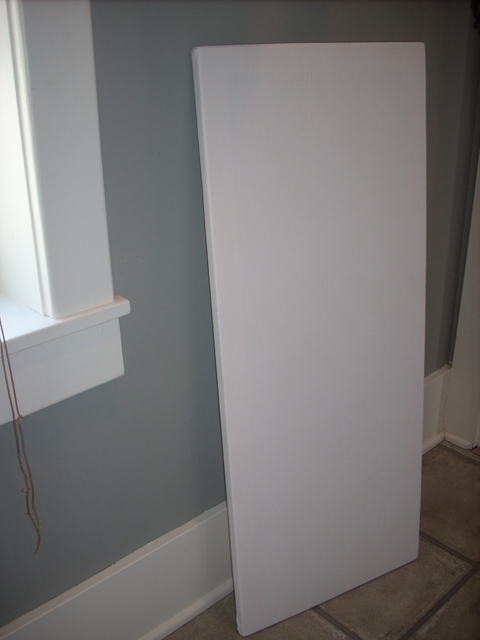
My darling husband/assistant helped me out once again on the woodworking end of this by making me four 15x36 inch frames.
I used my staple gun to adhere a cotton sheet to the frame so that my new fabric wouldn't be transparent.
I found these four complimentary black/white prints...two at Field's Fabric, and the other two at Joanne's. It was a trick to find creamy white/black rather than a stark white/black. The zebra rug we were matching is definitely more creamy than white.
 Here's what the panal looked like with just the cotton sheet stretched and stapled over the frame. I had to make sure the fabric was pulled tight so that there wouldn't be any wrinkles when I stretched the top fabric over top.
I trimmed the fabric to a rectangle a little larger than the frame. It only required 5/8 of a yard for each frame. I then trimmed down the excess.
Here's the finished product. I can't wait to see them with the zebra print rug and all the fun accessories.
I found this chair at an estate sale a while ago. I loved the legs of it, but was intimidated by the green pleather/vinyl that covered the back of it. I haven't done much with upholstering with nail heads or tacks but wanted to paint this one up and see what was lurking underneath.
I must not have gotten a picture of the caning that was on the back. It was dry and ripped and the vinyl was covering a multitude of sins. I ripped it off and painted the chair black.
I covered over the vinyl on the seat with some fabric that I had left from another project. I wasn't sure how I was going to adhere coordinating fabric to just the inset middle of the back and I couldn't find my quilting tacks to mess around with it....so, plan b.
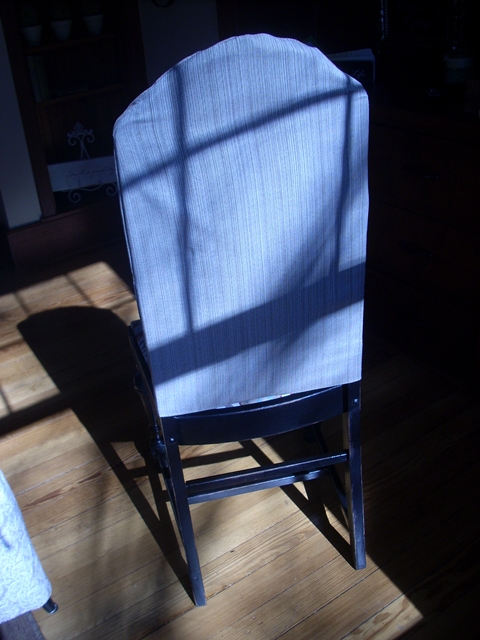
I got out my trusty sewing machine that had been collecting dust in the game closet, and sewed a simple slipcover over the back so that the silhouette still showed through.
Major lighting issues...but here's the back of it.
I brought it to Not So Shabby yesterday. Cute in the corner of the dining room as an accent piece.
Estate sale find. Looks like someone's dog had a field day with this one.
Sanded, washed, painted and waxed...not so bad after all! Another piece I was tempted to keep for my monthly magazine subscriptions.
Cute between two accent chairs.
Can Libby still smell dog's breath on this? Or is she sniffing her approval?
My father in law found this bookshelf for me. I liked how rustic it looked and didn't want to change the feel of it.
This is at my booth at Not So Shabby and looks really cute with little boxes and knick knacks displayed in it.
Another simple piece that I found at Goodwill in Allegan but one I couldn't pass up. The price was right.
I didn't even prime this piece. I just 'dry' brushed it with a bit of buff colored paint and then "Bri-waxed" it with light brown wax.
Found this beauty on Craiglist. Almost passed it up but glad I didn't! Drove across Zeeland in the middle of the blizzard of 2011 to get it, but well worth it.
Eeek! Suppose I could've Windexed the mirror for you. Sorry! This isn't at the store yet, but will be next month. Super cute in a little girl's room!
This one I didn't even have to touch. Found it at an estate/consignment shop. I loved the color of it. It has an enamel top and wooden legs painted in a pale yellow with sage green showing through. I think it would make a great folding table in my soon-to-be-new laundry room, but I'm in 'get rid of mode' right now, so off to the store it will go.
Thanks again to my faithful blog followers for checking in!! Your interest in my business means so much to me!
Comments...


 Here's what the panal looked like with just the cotton sheet stretched and stapled over the frame. I had to make sure the fabric was pulled tight so that there wouldn't be any wrinkles when I stretched the top fabric over top.


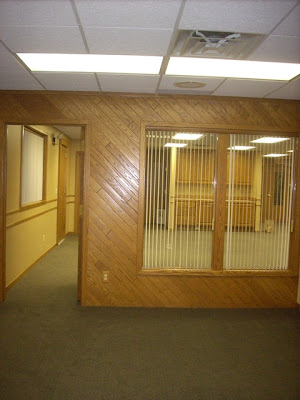 We took out the door and trim on this wall and enclosed the space. We did a complete office 'build out' in the main entry area to add another enclosed office space for future growth.


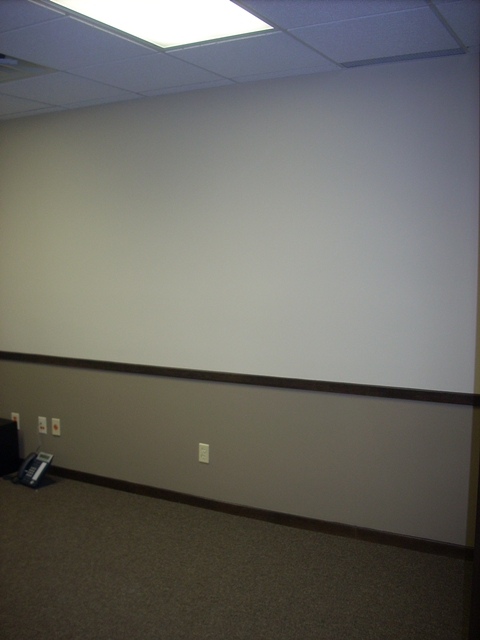


 The rectangular images are just the lights reflecting from the ceiling above.